When it is time for your in-person app, you can use the web or mobile version of the vyb ticket scanning app.
In vyb we have the ability to set multiple scanning users, and for each scanner, they can change their scanner role on the fly. For example, you will be default always have a ‘Door’ role for scanning people at the entrance. Additionally, we auto-populate a role for each in-person ticket tier. For example, if you have GA and VIP seating, you will find those roles.
Note: the native mobile scanning app is now in beta, to get access to the beta contact help@vyb.co
Step 1. Set up a scanner user as a sub account
Navigate to sub-accounts by clicking My Dashboard, My Team, My Sub-Accounts
Click Create Sub-Account
Give your subaccount a username and select the Ticketing role.
We will auto-generate passwords for all subaccounts.
For each of your sub-accounts, you can now easily copy the username and password and send to your team members.
Under the Action menu you can delete a role or reset the password
Step 2. Navigate to vybtix.com
Navigate on your mobile over to vybtix.com. When it is released, you’ll be able to download the vybtix mobile app from the app store.
For the web app, click on “Use Web Version”
Step 3. Log In
Log in to the account using the ticket scanning account created above.
Step 4 Select Event
Note that if you don’t have an upcoming event, you won’t see any events to select
You also won’t be able to scan until the day of the event
Step 5. Select Tier to Scan
You can choose which tier you need to scan. By default, there is a main door scan location.
Note we only allow a QR code to be scanned once at the door and again at a specific location. For example, if you have a VIP section, the fan will be scanned once at the door by a person with the ‘Main Door’ role and then a second time by a person at the ‘VIP Seating’ entrance. You’ll want to give the fan a stamp or wristband in they’ll need to be able to leave and re-enter the VIP area, because we will not allow a duplicate scan. This way we prevent duplicate use of a QR code
Beta Scanning App
To get access to the beta of the ticket scanning app, please contact help@vyb.co
On vyb, you can upload and sell videos that you have previously recorded. Your recordings of old performances are a great way to give your fans more – they want to buy from you. Maybe you had a really hot show last fall or you have early band videos. Maybe you want to sell instructional videos to your following. Here at vyb we can help do do all of that!
For your Super Fans, consider selling this only to Subscribers. That way you encourage and reward your most loyal fans. You can also open it up to everyone but give your Subscribers a discount.
Your videos are encrypted and can’t be downloaded. Fans can only purchase and watch them by going to vyb.
Ensure you have the rights to any video before you upload it, we don’t want to have to pull it down!!
Below are the steps to uploading your videos to sell on vyb:
Step 1
Uploaded videos are going to show in your Events Library.
Click “My Dashboard”, “My Created Videos”
Click “Upload Event Video”
Step 2
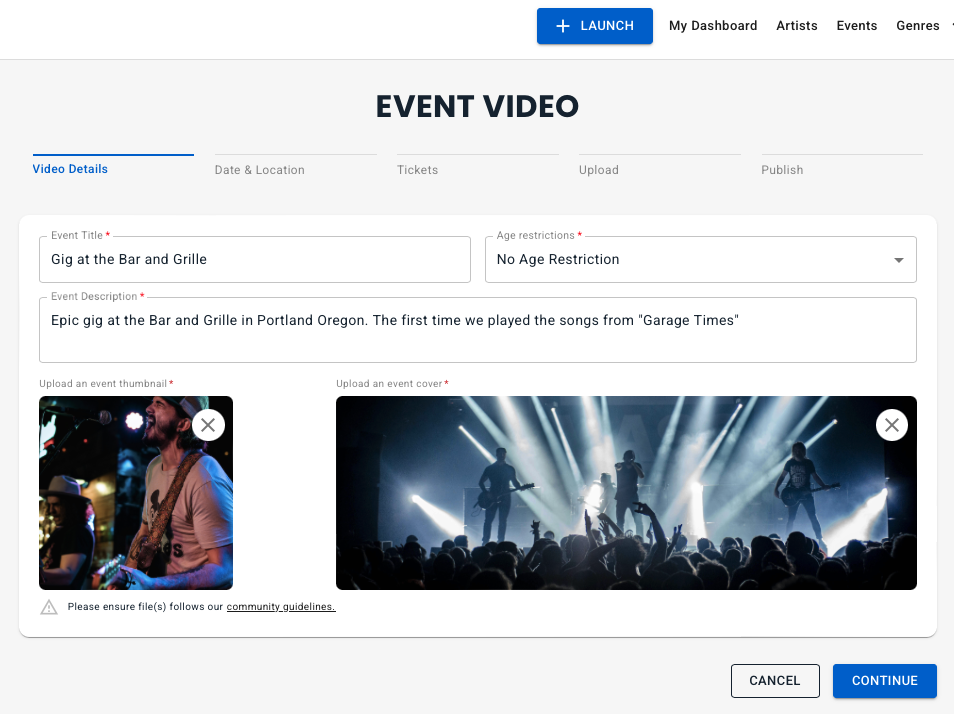
Edit the Title and Event Description. Make them descriptive and fun to give your fans a reason to buy.
Add a thumbnail and cover image
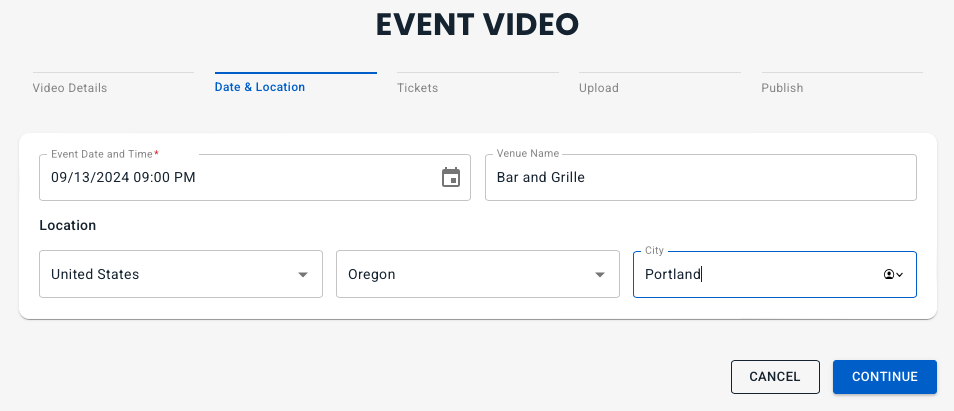
Step 3
Edit in the date and time when the video was recorded.
Add the name of the venue and the Country, State and City
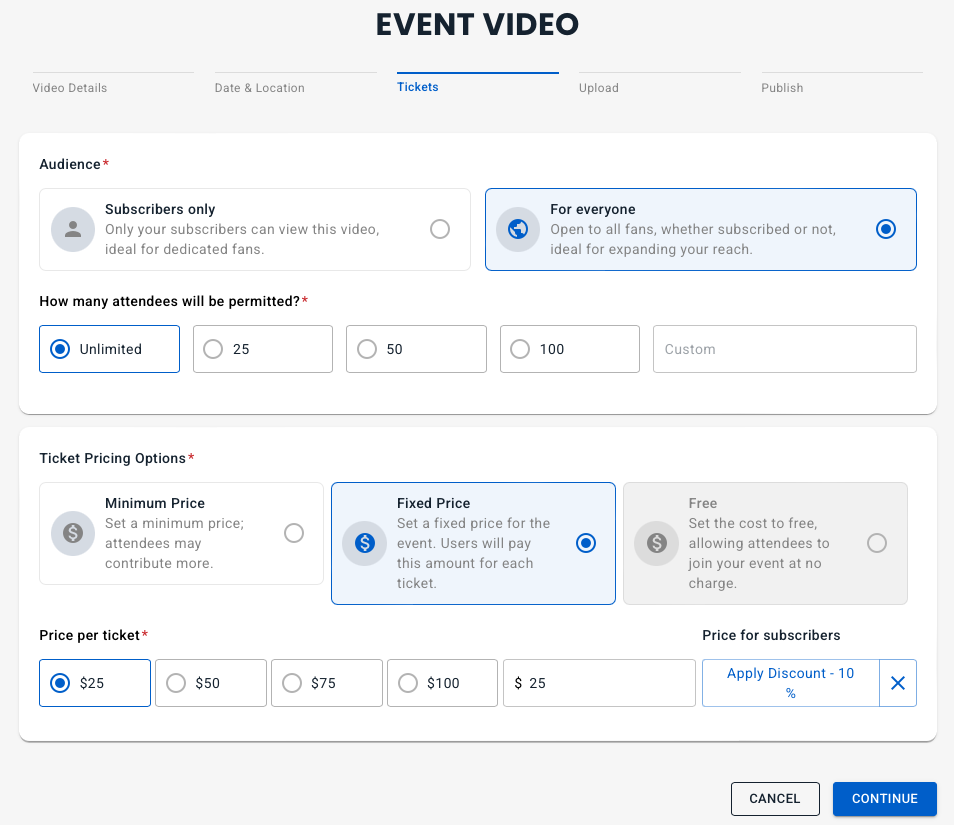
Step 4
Set the ticket pricing.
You can choose to make it exclusive for subscribers or open to anyone.
Choose the number of people who can buy the video, either unlimited or make it selective.
Set the pricing option. Free is only allowed for Subscriber Only. Minimum Price option lets your fans pay more, like a built in tip.
Set the pricing and the if your Audience is For Everyone, set the subscriber discount
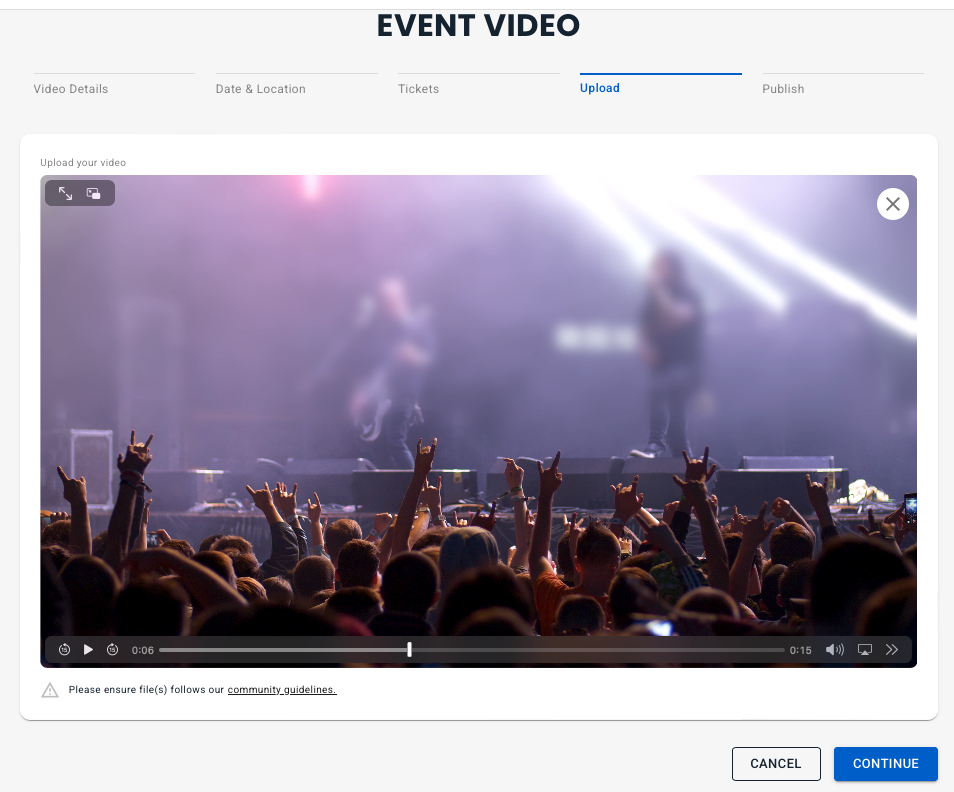
Step 5
Now you can upload your video
After you have uploaded it, you can watch the video using the video controls to skip through and check the quality and audio.
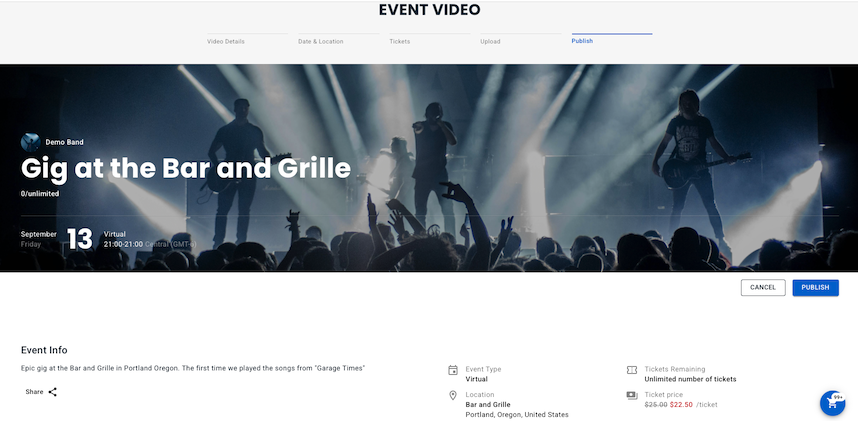
Step 6
Now do a final check of the pricing and access, then hit Publish.
Once you’ve hit publish, your event is available to be purchased by your fans.
With vyb, you can sell your own ticketed events. We have several different types of events:
Virtual Events: this is the simplest, a live stream you record anywhere, and fans from around the globe purchase and watch. During the Virtual Concert, your fans can message you and tip you
In-Person: Generate QR codes for tickets and use the vyb scanner app to check in fans at the door. Supports multiple ticket tiers.
Hybrid: A combination of Virtual and In-Person, the hybrid lets you add a live stream recording to the event. By default, all fans who purchase In-Person tickets also get access to the recording after the event, which is a big benefit.
We have a simple split system that makes it easy for you to automatically pay the opening band, a promoter, your manager, whoever needs to do that. You will find instructions on artist splits below.
Below are the steps to create the event:
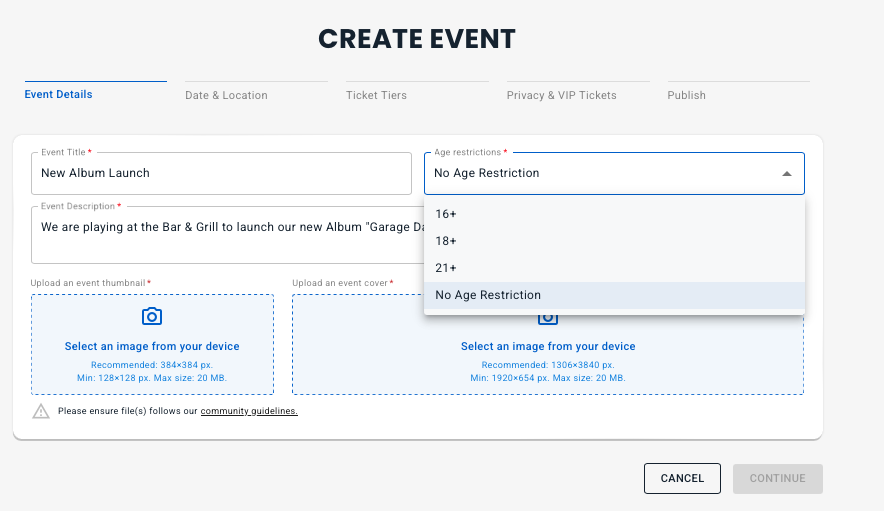
Step 1: Event Details
To start creating your event, click on the “Launch” button in the upper menu and select “Create Event”
Enter something descriptive for the event title and description.
You can set if the event is available to all ages or has an age restriction
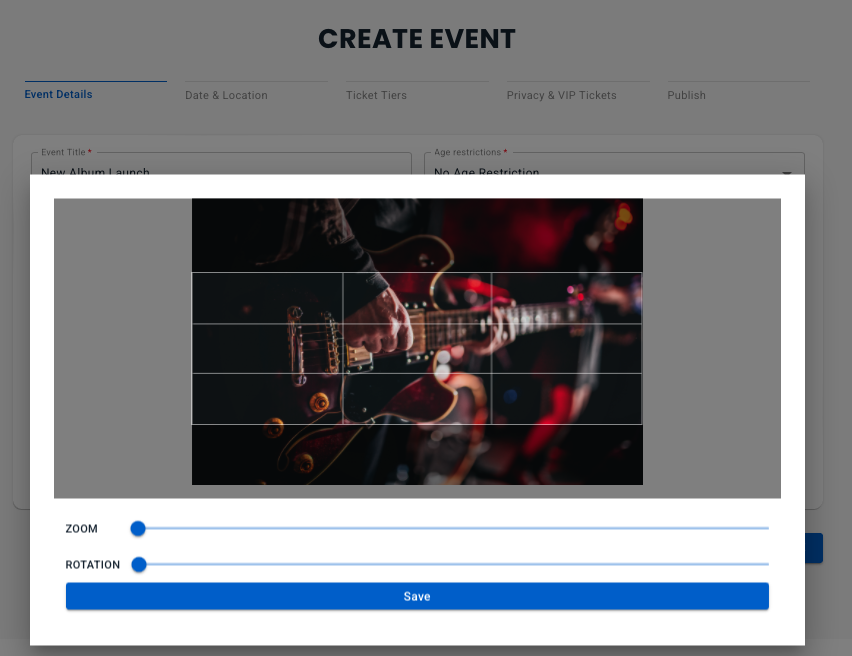
Now add thumbnail and a cover image. You can simply click on the blocks and then select a file from your files.
Once you select “Upload” from the file selector, you’ll get a popup that lets you position the file, zoom and rotate the image.
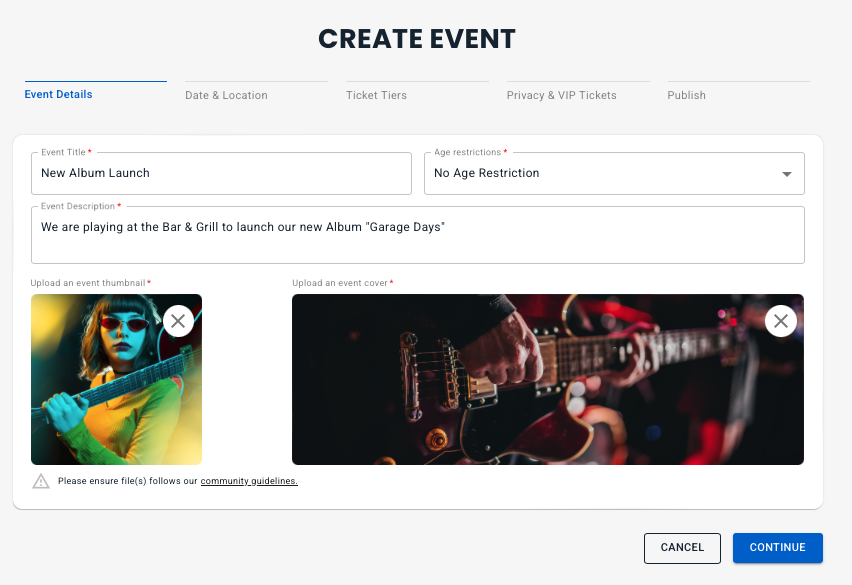
Hit “Save” on the image to get it added for your event.
If you change your mind about the image, you can simply hit the “X” in the image corner, deleting the image
Select “Continue” to go to the next step
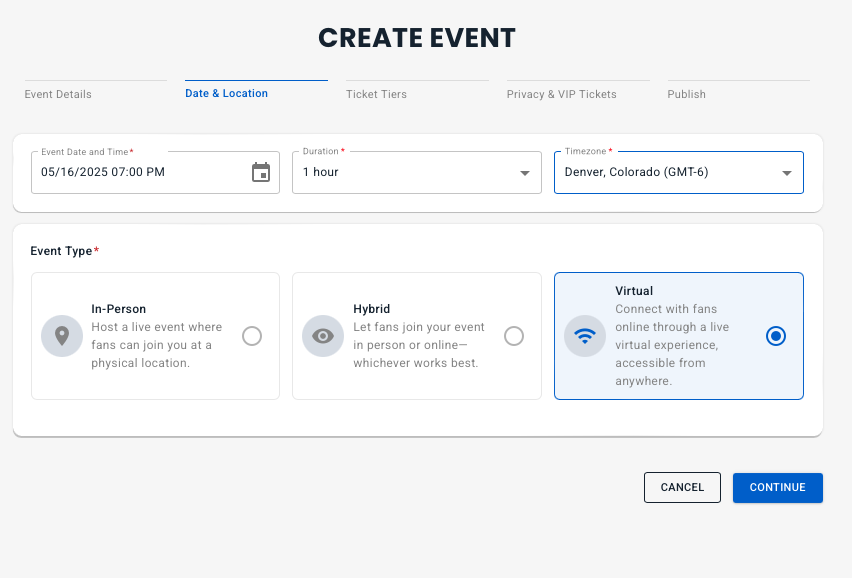
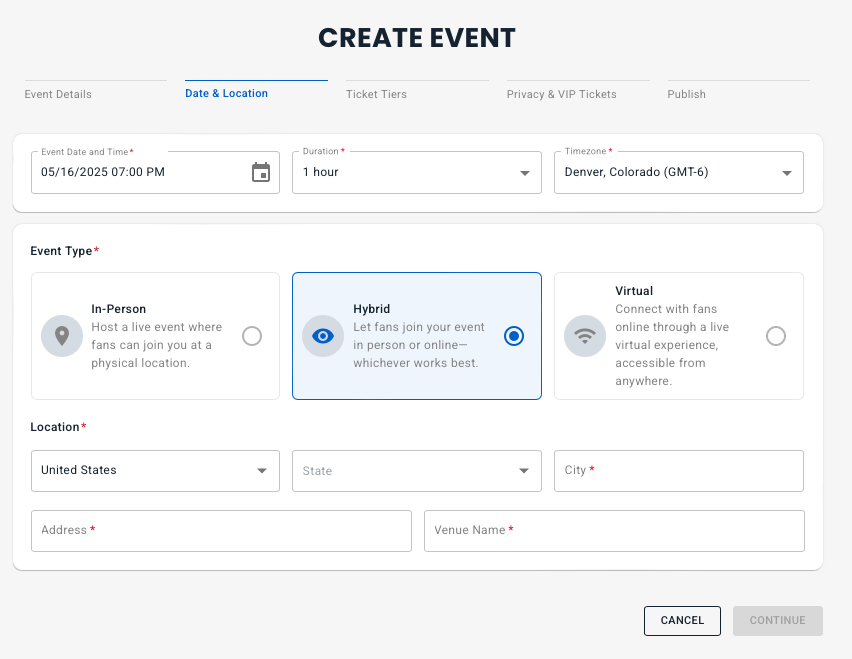
Step 2: Date and Location
Set the date and time of the event, the duration and the timezone.
It is very important to set your timezone to the timezone where you are doing the event. If you are doing a virtual livestream, then setting the timezone correctly will let your fans across the globe what time it will occur in their timezone.
Next select the Event Type:
Select In-Person if you are selling tickets to a physical event with no livestream
Select Hybrid if you have both in-person tickets and a livestream
Select Virtual if you will have a livestream for your worldwide audience with no in-person tickets
If you choose either In-Person or Hybrid, you’ll have an additional location to enter. Enter the address information and the venue name. Those will be displayed in the tickets to help your fans find the event location.
Step 3: Ticket Tiers and Pricing
If you have selected an in-person or hybrid, you can set multiple ticket tiers for the in-person tickets. A Virtual Concert Event currently only has one ticket tier. For each ticket tier, you can set a number of options
Configuring a Virtual Ticket:
Choose the number of attendees, and if the event is Exclusive to Subscribers or Free for Subscribers.
Pricing: Either select Fixed Price or Minimum Price. With the Minimum Price option, you set the minimum amount that fans will pay for a ticket. Industry data shows that most people pay a little extra, which is like a built-in tip.
If the event is not free for subscribers, you can set a subscriber discount.
Set a day of event pricing option or leave blank if the price won’t change
If this is a hybrid event, you can offer a discounted bundle price for anyone who buys an in-person ticket..
You can add exclusive merch that is only available to fans that buy a ticket. Each tier can have it’s own set of merch available.
Configuring an In-Person Tier
The In-Person tiers have all the same options for Audience, Number of Attendees and Pricing.
In-Person Tiers also have a Name and an Optional Description. If there is only only In-Person Tier, simply name the tier. If you have more than one tier, add a description to tell your fans more about that Tier.
In a hybrid event, you have the abilty to include the virtual livestream in the price or have it as an add-on.
To add another tier, click “Add Ticket Tier”
Configuring Additional Tiers
Each additional tier can be edited in the same way.
Additional tiers can be deleted, but you must always have at least one In-Person tier if you have selected In-Person or Hybrid as your Ticket Type.
Step 4: Privacy and VIP Tickets
Recording Available: By default this should be left on as it allows your ticket purchasers to watch the video anytime from their library
Sell Event Recording: If this is enabled, then your fans can purchase the event days even years after the livestream. Note that the purchase options are still governed by the limitations you put on it before. For example, if you set your Audience as Subscribers, then only Subscribers can purchase it. If you limit the audience size to say 300 tickets, then only 300 fans total can ever purchase this recording.
Enable Chat availability to allow your audience to chat with you during the show.
You can add a guest list here, click +Invite. Don’t worry if you don’t have all your guest emails, you can always add them anytime. See this tutorial for adding guests to an existing event.
Step 5. Add any additional artists on the bill
Simply click to add additional artists or other splits. With this splits you can split out promoter fees, venue fees, opening artists, any split you need to make on the ticket sales. You add the email and we’ll automatically handle the accounting for you.
Artists listed on a split will automatically have the event appear on their page and they will receive the fan data of all ticket purchasers.
Step 6: Publish
Review everything, and then hit “Publish”
Your event is now published and ready for sale.
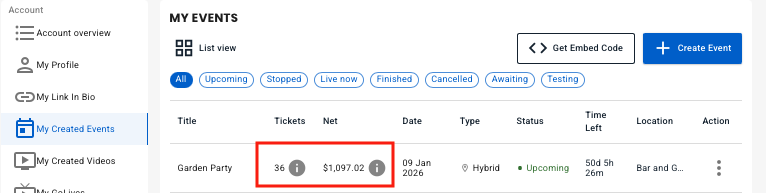
You can track ticket sales in your dashboard.
You can also edit your event or easily add to the guest list in your dashboard
You can add more guests to your guest list anytime up until the event time. Please see this tutorial: Editing Event Guest List
From your artist dashboard you can track in real time all the ticket sales and get a detailed breakdown. See this tutorial: Event Sales Data